
![How to Make Digital Stickers to Sell [Step-by-Step for Beginners]](https://onefinewallet.com/wp-content/uploads/2020/12/how-to-make-digital-stickers-1-1-940x640.jpg)
*This post may contain affiliate links. Please read the full disclosure here.
If you’ve ever scrolled through Etsy and wondered how people are making passive income selling cute digital stickers, you’re not alone.
From planner stickers and budget trackers to motivational quotes and kawaii-style icons, digital stickers have become one of the easiest beginner-friendly products to create and sell online.
And the best part? You don’t need expensive software or professional design skills to get started.
What are Digital Stickers?
Digital stickers are basically PNG files with a transparent background.
They are used with digital planners (which are hyperlinked planner PDFs that you can use on your tablet and write in like a paper planner using a stylus).
With Canva, anyone can design polished, downloadable sticker packs in just a few hours.
Whether you want to create stickers for digital planners, GoodNotes, iPad journals, or social media content, Canva gives you drag-and-drop tools, ready-made elements, and templates that make the process surprisingly simple.
Before jumping into the tutorial, it helps to know what kinds of digital stickers actually sell well. Some of the most popular categories include:
- Cute aesthetic planner stickers
- Cliparts
- Washi Tapes
- Budgeting and finance icons
- Seasonal holiday sticker packs
- Wellness and self-care stickers
- Study and productivity labels
- Minimalist neutral-tone stickers
- Kawaii food and animal stickers
- Motivational quote stickers
- Digital journaling decorations
- Hyperlinked planner tabs and widgets
Low Cost Online Business Idea
One reason digital stickers are so popular is that they’re inexpensive for buyers and scalable for creators.
You design the files once, upload them to platforms like Etsy or your own shop, and continue selling them without managing inventory or shipping. It’s a low-overhead creative business that appeals to artists, side hustlers, students, and content creators alike.
In this guide, you’ll learn exactly how to make digital stickers in Canva, how to export them correctly, and what design trends are currently attracting buyers.
Even if you’ve never designed anything before, you can create professional-looking sticker packs people actually want to download.
How to Create a Digital Sticker in Canva
Designing digital stickers on Canva is so beginner-friendly with all the drag and drop tools on the platform.
Step 1 – Sizing:
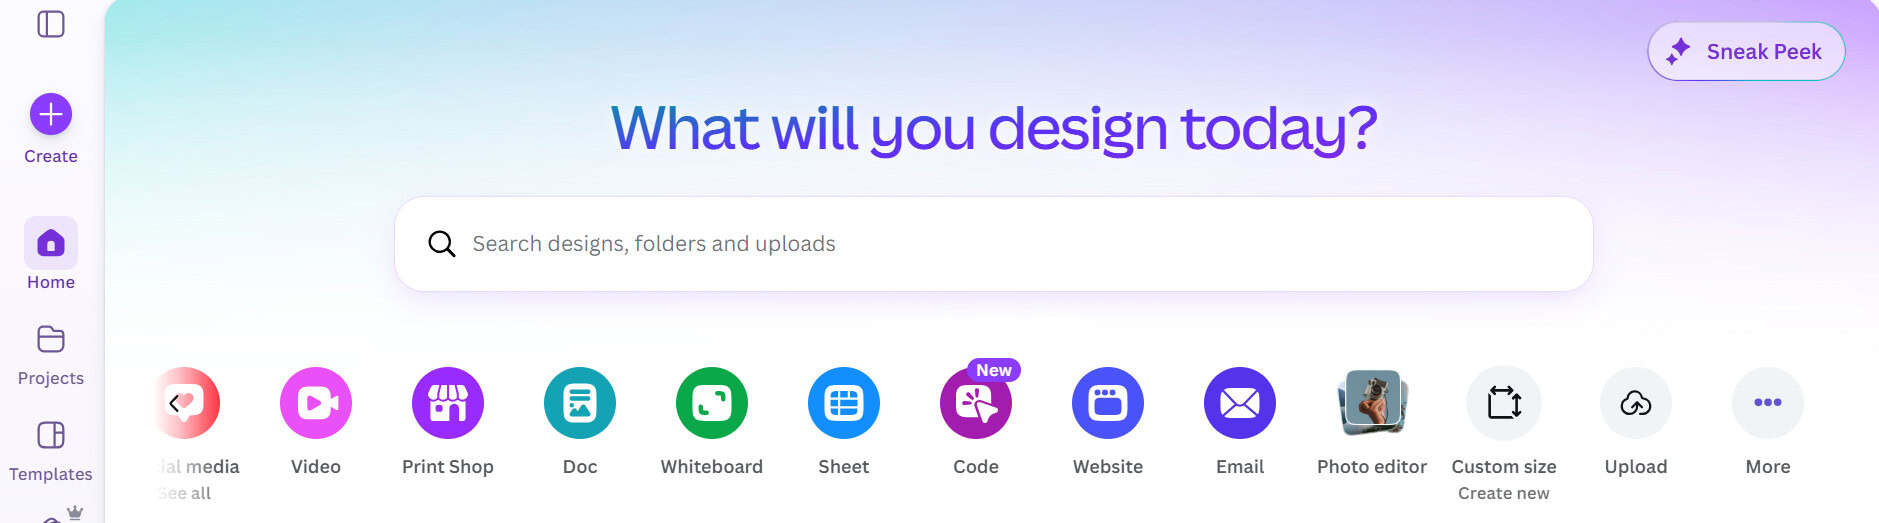
Choose the right sizing. First, go to Canva’s HomePage and choose “Custom Size” that is under the search bar.
If you are making a bunch of stickers on a sheet, choose the A4 size. If you are interested in single sticker creations then go for 2000 x 2000 px (which is also the Logo sizing in Canva). 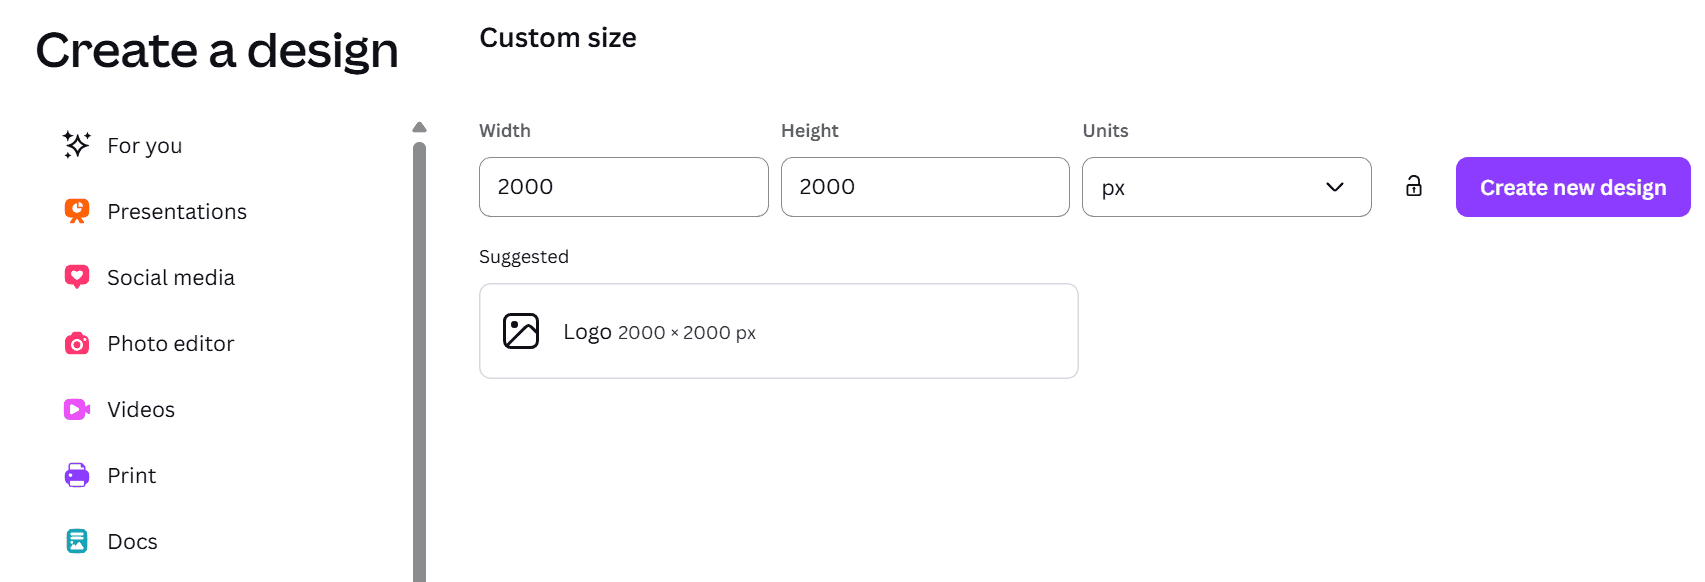
Step 2 – Design:
Consider the type of design you want to use. From bright summer colors to warm pastels, you can create a variety of different sticker bundles. You can also select a niche of your choice like:
- Pastel planner stickers
- Minimal neutral icons
- Kawaii characters
- Productivity labels
- Budget trackers
- Seasonal themes
- Self-care illustrations
Step 3: Start Creating
Go to the design tab in Canva and select “Elements” from the left sidebar. Search for icons or illustrations like “florals”, “food” or “coffee mug”.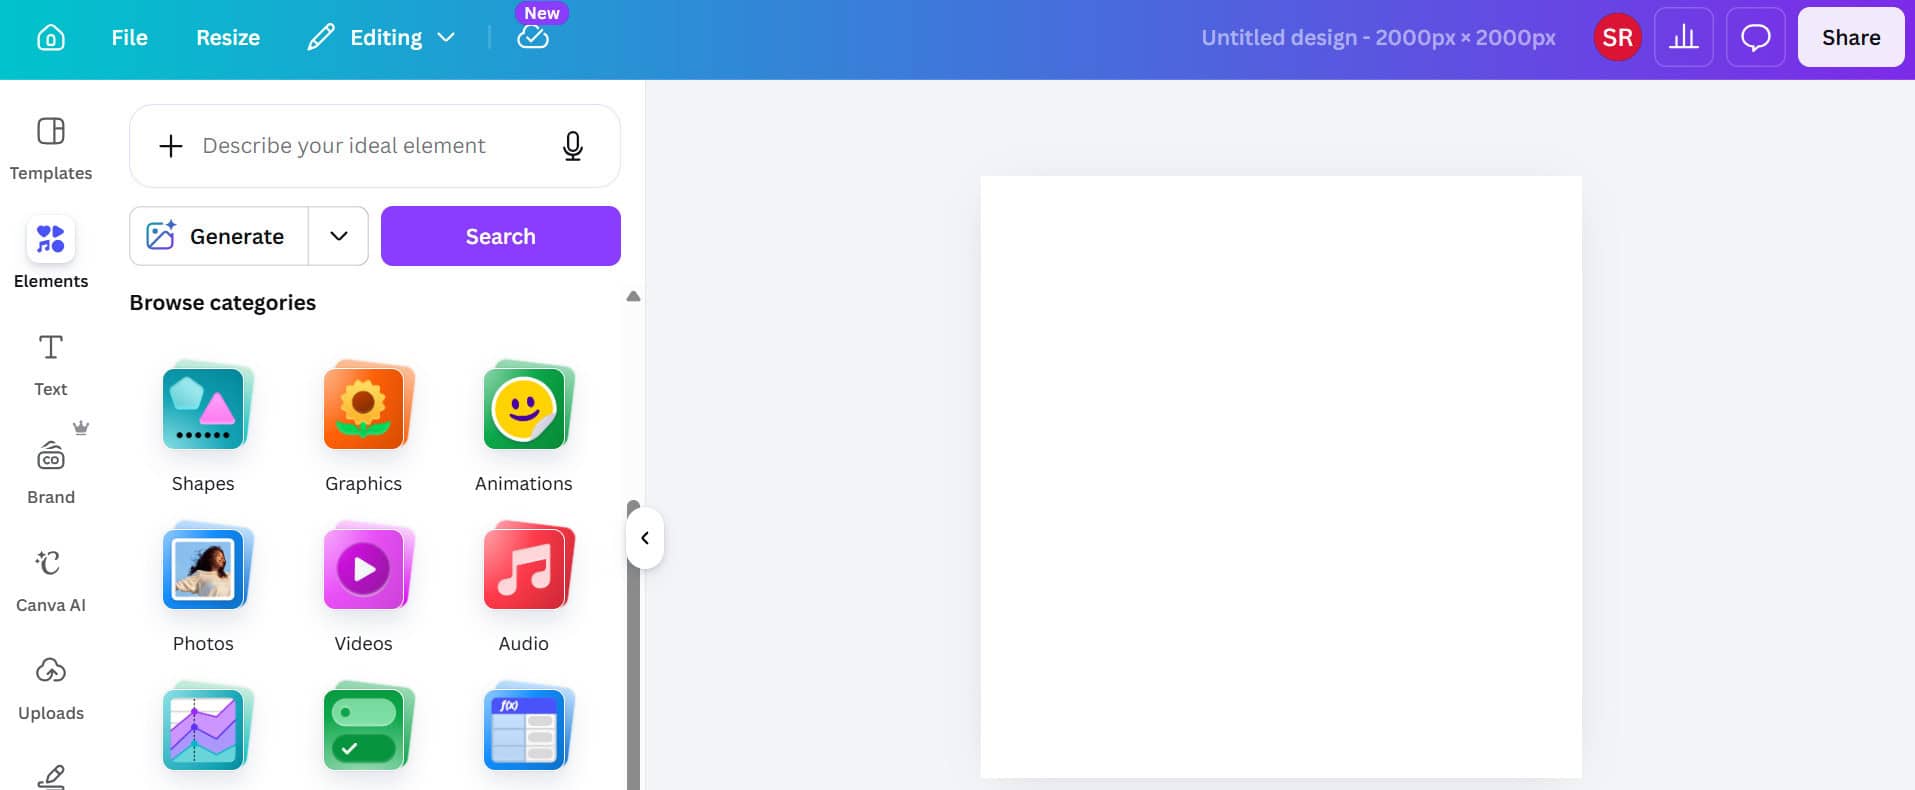
Click on the selected icons to change colors and adjust sizing. I have gone with a “food” theme for this example. 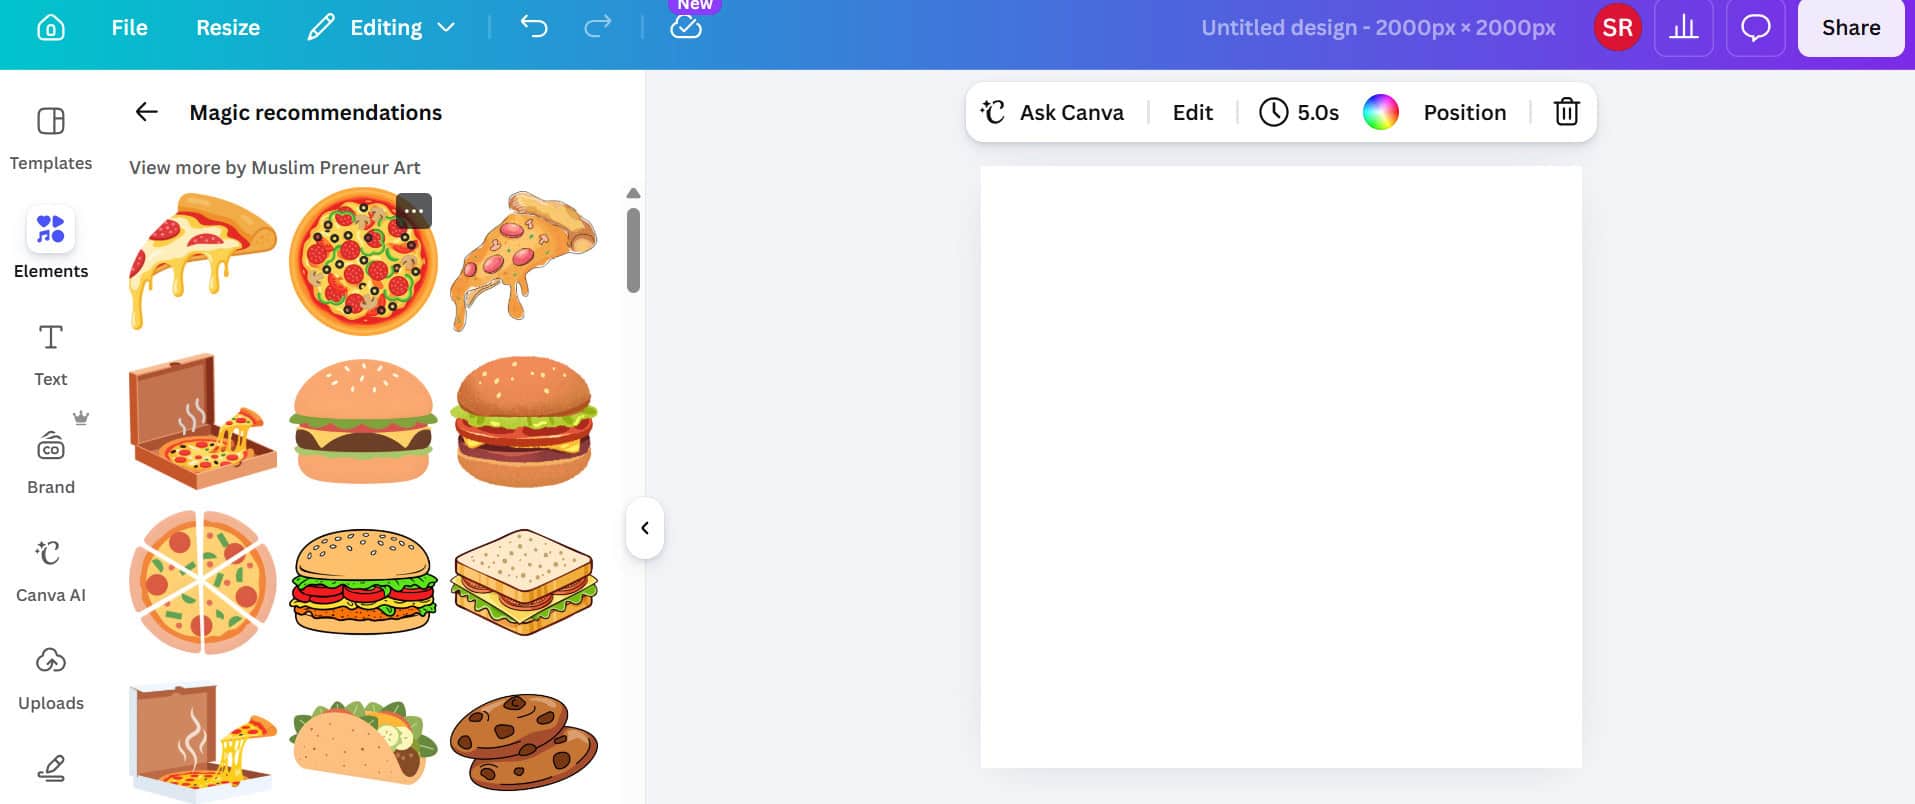
Step 4: Sticker Outline
This is the most important step, which is to create a white outline around the image.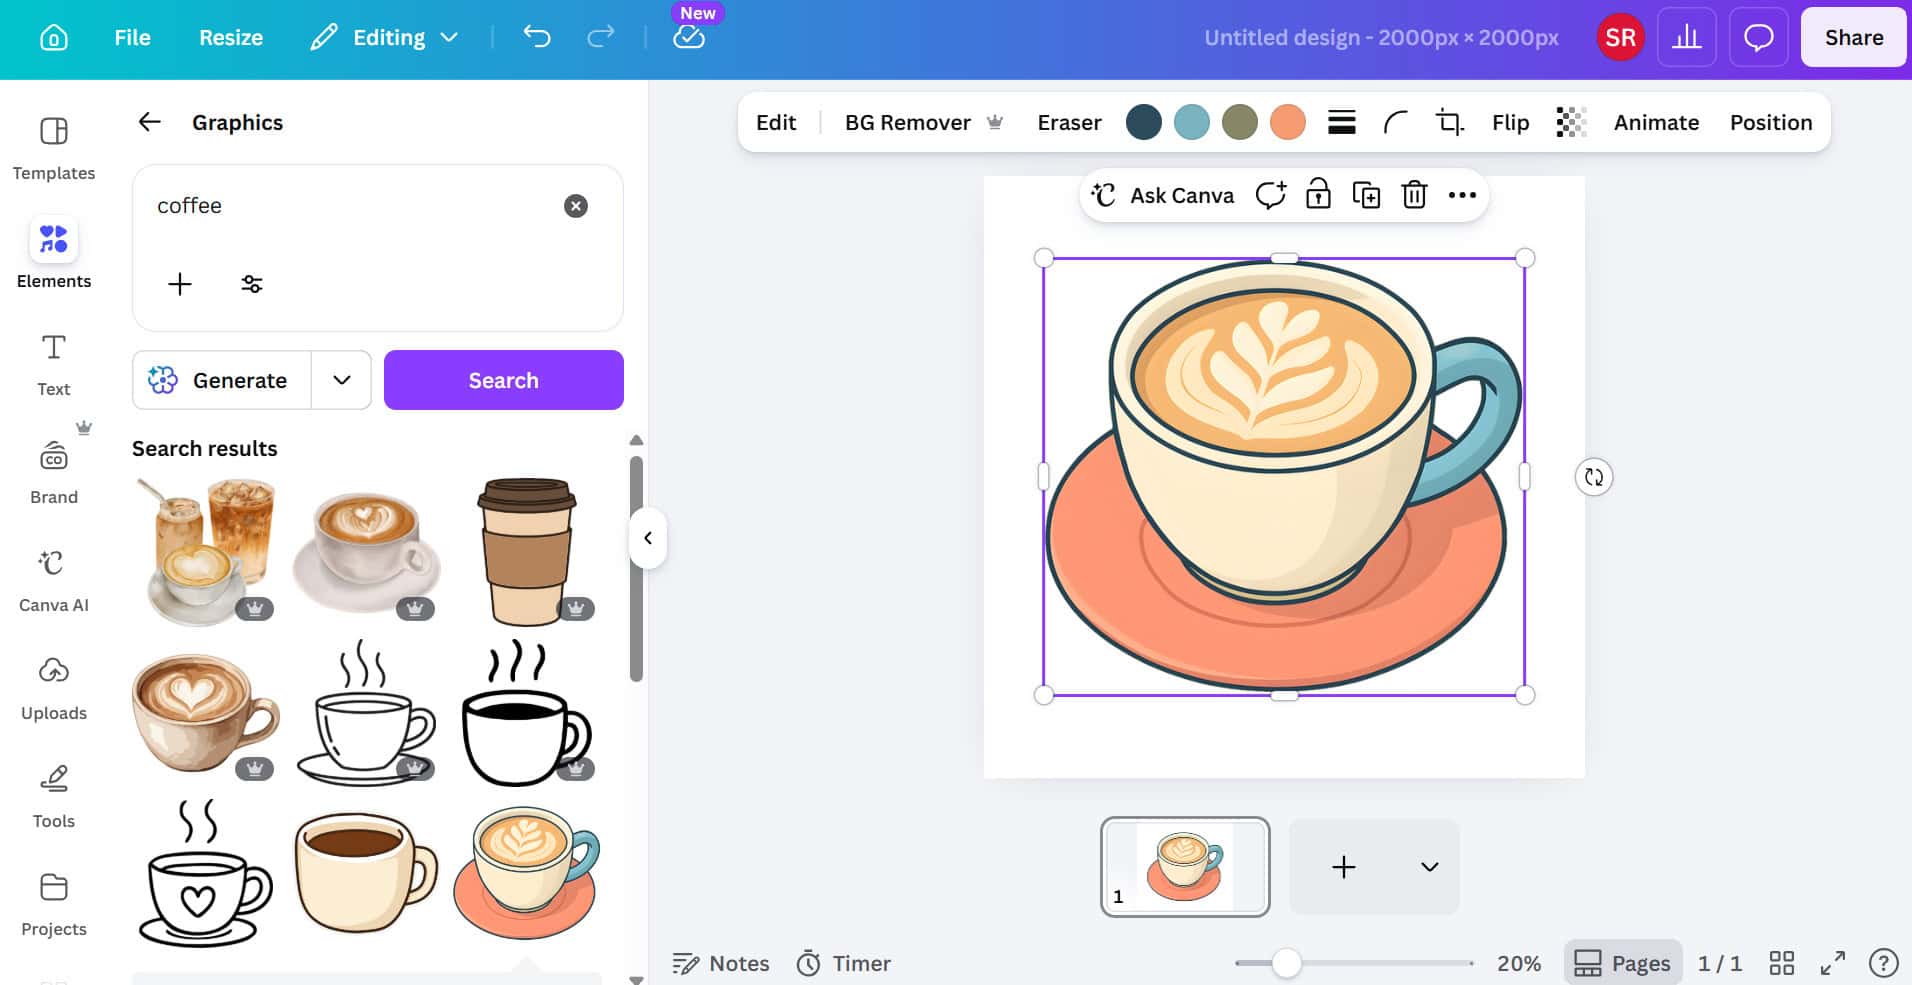
After selecting the image and adjusting the size, let us create the white border. 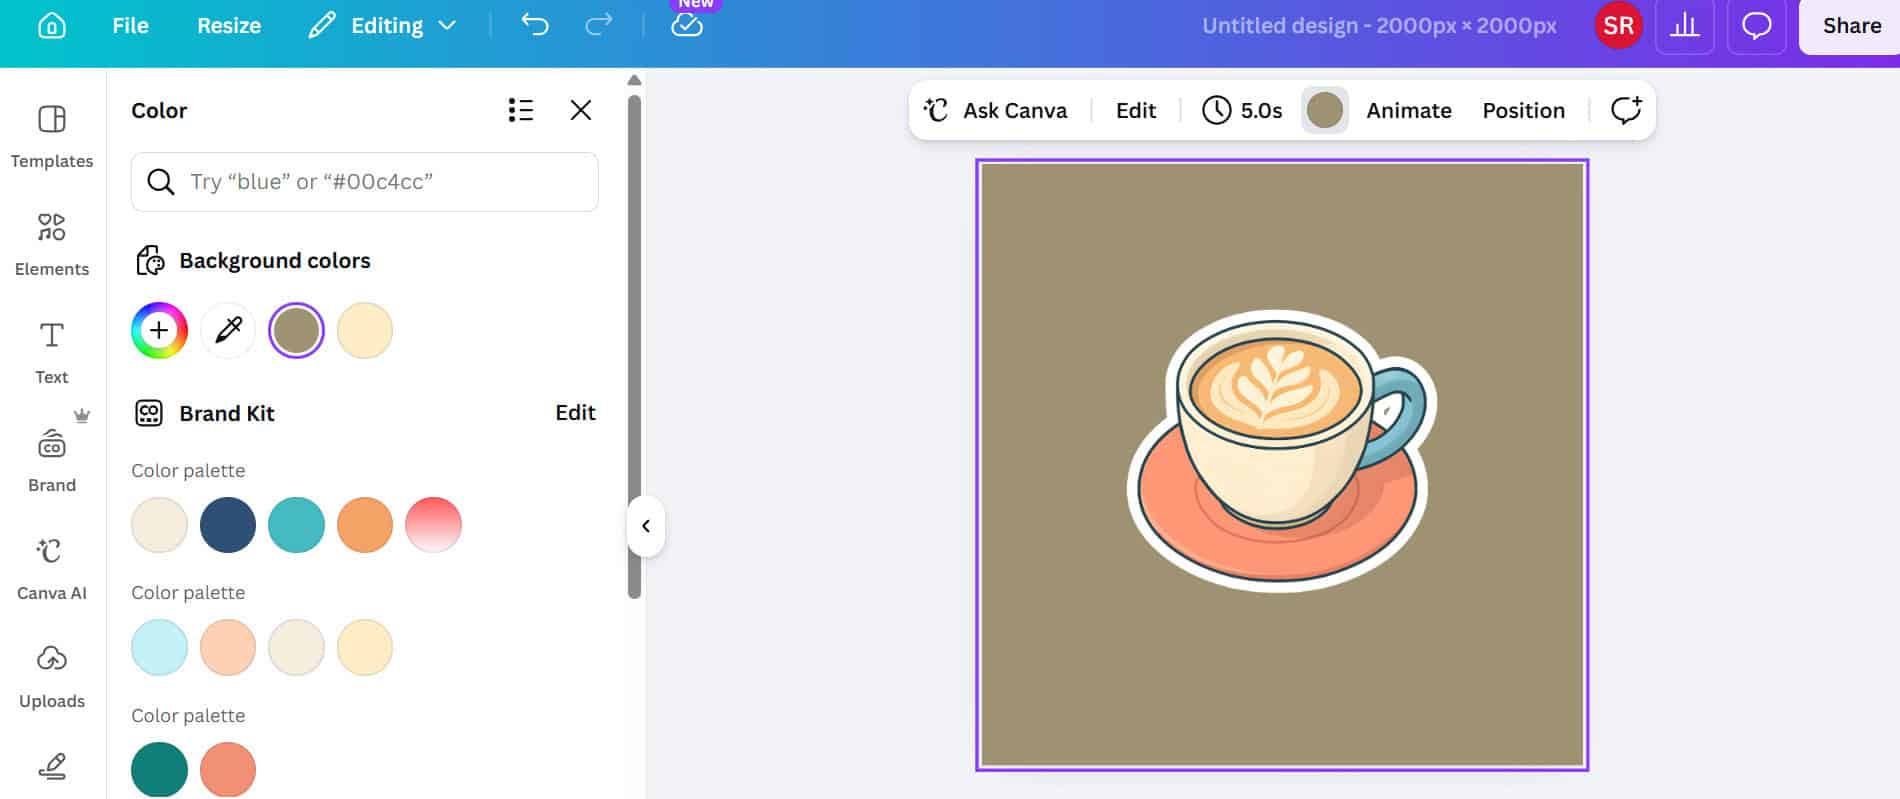
To create this effect:
- Select your image
- Click Edit Photo on the tab above the image.
- Choose Shadows on the left sidebar
- Select Glow
- Adjust your “Glow” settings to match the dimensions below:
- Blur = 0
- Intensity = 100
- Size = 70 (adjust according to your preferance)
- Color = white
This gives your stickers that classic die-cut appearance.
Step 5 – Add Text (Optional)
Text-based stickers sell extremely well for planners and journals.
Examples:
- “Budget Tracker”
- “Meal Prep”
- “Today’s Goals”
- “Do Not Disturb”
- “Study Time”
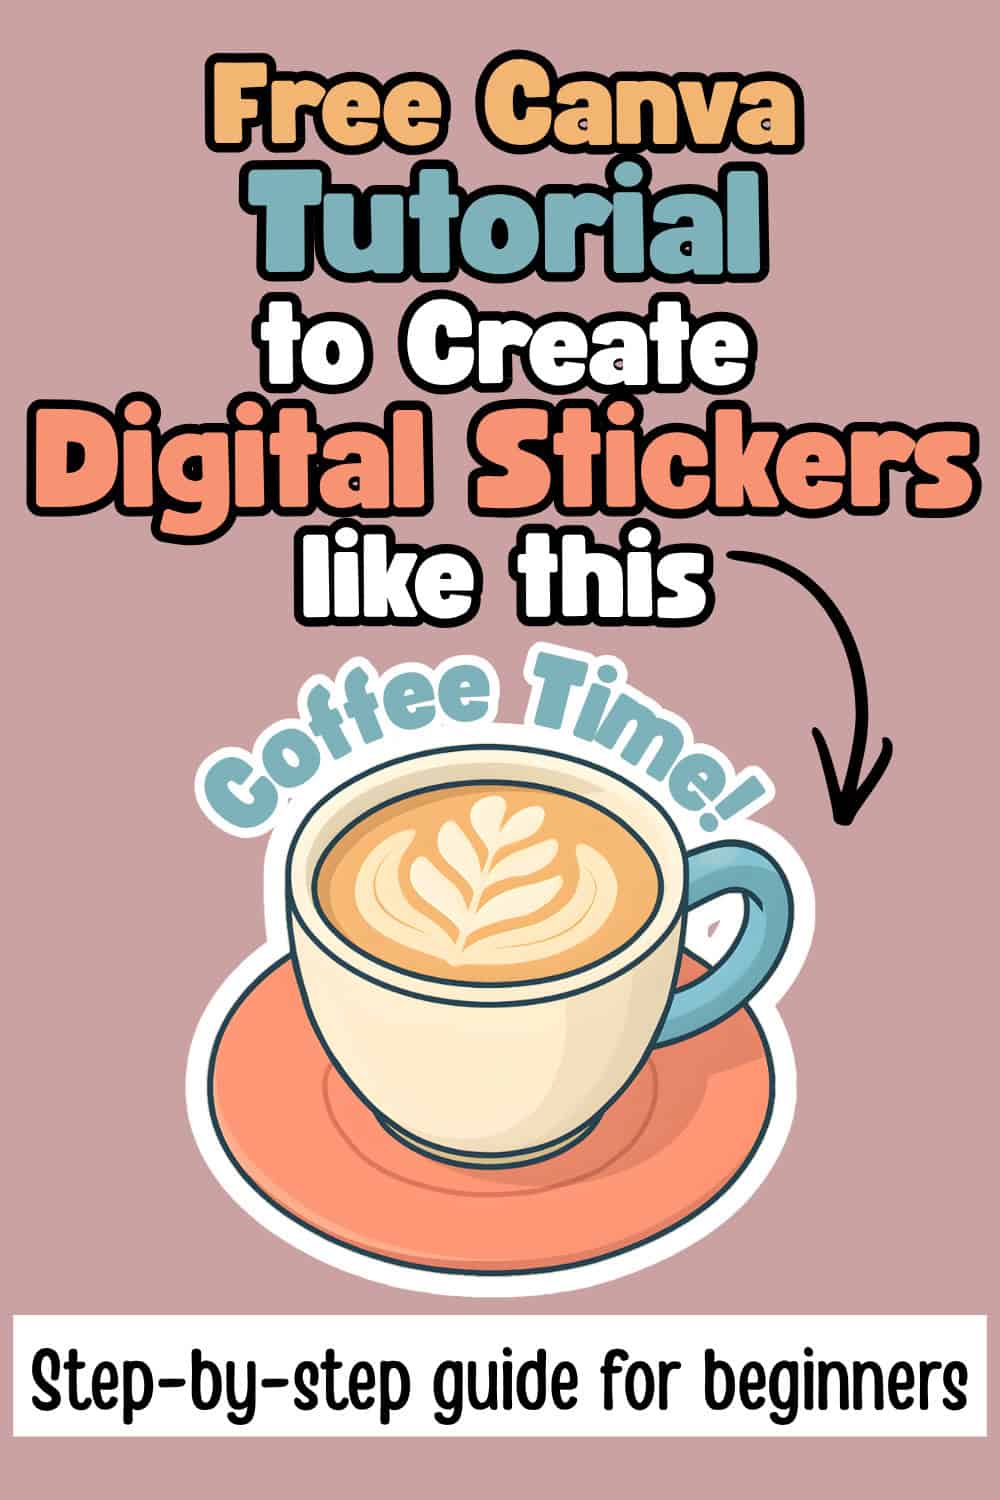
You can add text along with your image like “coffee time!” in the tutorial image that I’ve created below. Feel free to follow the same fonts and same sizing to re-create your own.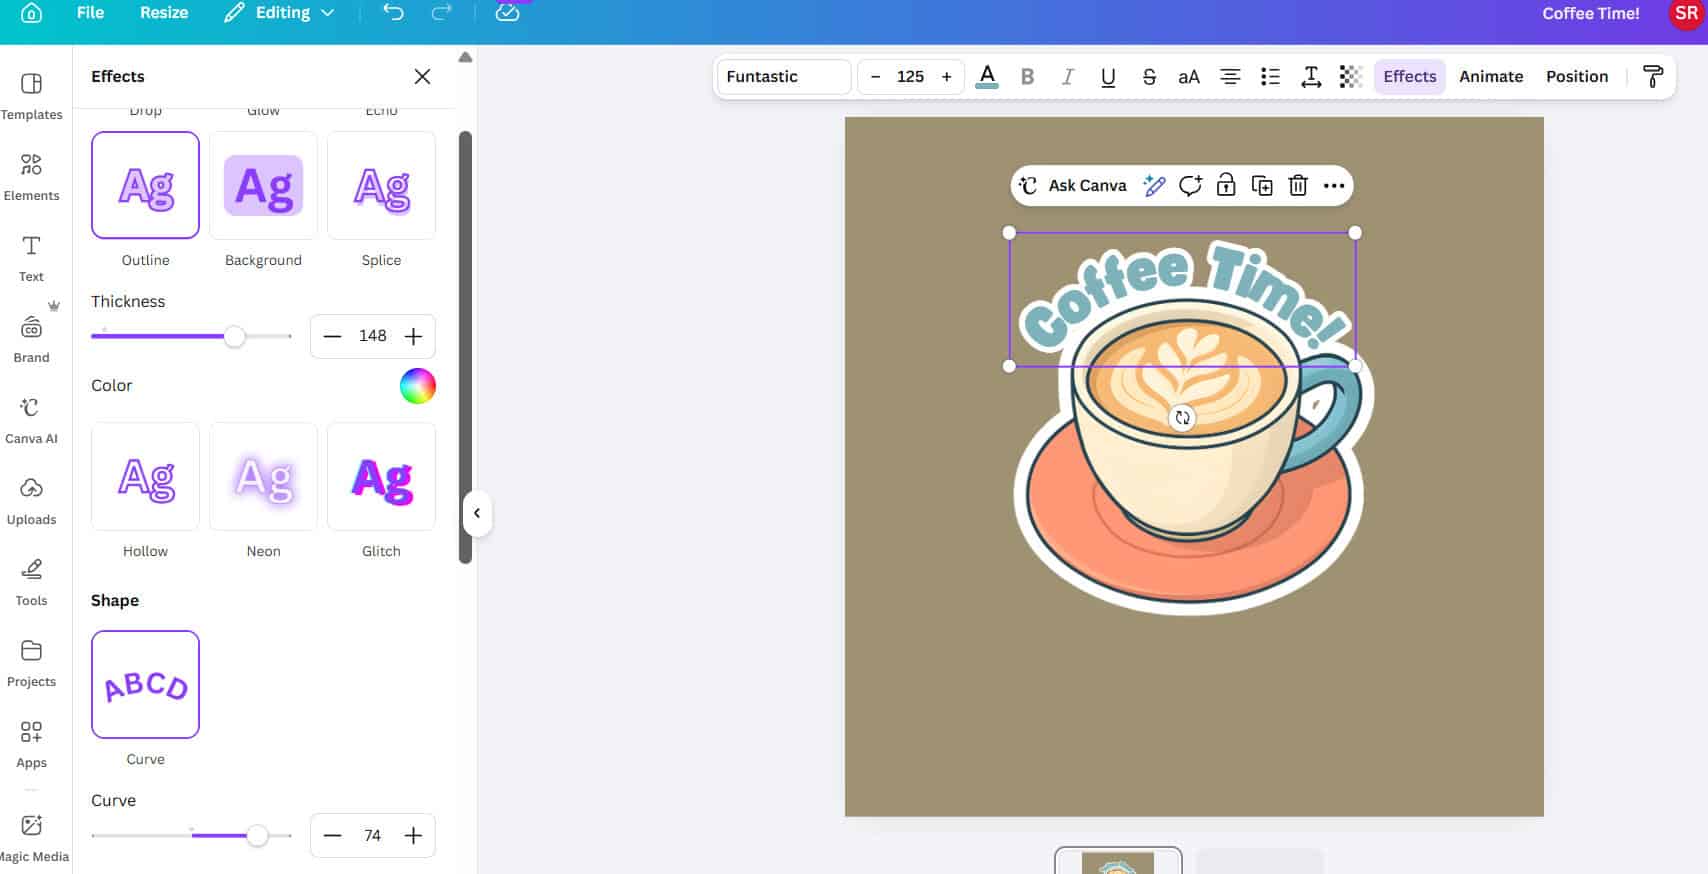
Use Canva fonts that match your niche:
- Script fonts for feminine aesthetics
- Bold sans-serif for productivity stickers
- Handwritten fonts for journaling styles
Step 6 – Remove Background
When creating and selling digital stickers, always make sure the final print is saved on a transparent background. The way to do this is as follows:
- Click on “Share”
- Then “Download”
- Select PNG
- Turn on Transparent Background
Note: Transparent backgrounds require a Canva Pro subscription.
Final Step – Bundle and Sell
Most sellers include a preview of the images along with an instructions on how to download the images, available on a PDF. The PDF will have a link to the ZIP folder where the customer can download the images.

I loved it .. thanks for sharing!
Awesome 😎, thanks for helpful tips and option to make money
Yes, very interesting, I am housebound, and this might to prefect for me